So, I started out last week with a lot of good intentions... but after our AC broke down and Illinois decided to dish us out some 90 degree weather complete with humidity... I decided to skip the good intentions and go for a good old fashioned crash and burn! Here is how it went:
Because the temperature in our house never went below 85 degrees the entire week, our family completely abandoned the upstairs (which was 10 degrees hotter than the other floors and happened to contain our bedrooms and main bathroom) and decided to keep to the downstairs for as long as possible. Kevin and I slept in the living room the whole week! We tried not to eat anything that would involve cooking, we watched a butt-load of TV, and we hardly EVER moved.
The girls were banished to the basement during the week (which happened to be 10 degrees cooler than the rest of the house.) I was afraid they would be scared of sleeping in the laundry room, but they were so exhausted from all the heat that they didn't even care. (And yes, there is chalk all over my walls.)
Anyway, the point is that without the luxury of air conditioning, I am a worthless slug. Thank goodness for Netflix and single-serving-yogurts or else none of us would have survived the week!
It wasn't all bad though. Our awesome friends, the Browns, invited us over one evening to cool off in their pool. It was seriously the best thing that ever happened to me! And, despite my sluggishness, I was able to complete a project during the week.
The previous renters of our home (whom I assume were avid hunters) left this "special" piece of art in the house when they moved. The frame was so huge that I couldn't let it go to waste...
So I painted it, covered the previous "art" with cork and fabric, and hung it on my office wall!
I wanted to put cute little wooden letters on it that said "FAMILY" but didn't' have the funds. So instead I cut letters out of old mat board, painted them, and hot-glued twine to the backs. Then I tacked them to the board along with all the family pictures I've collected over the last few years.
I'm so happy to finally have a great place to hang all the cute pictures of my nieces and nephew that I receive in the mail, and so happy to fill that giant empty spot on the office wall.
As for the AC... well, the landlord knows about it and hopefully it will be fixed before Illinois decides to heat up again. Crossing our fingers!
“ May I invite you to rise to the great potential within you. But don’t reach beyond your capacity. Don’t set goals beyond your capacity to achieve, don’t feel guilty or dwell on thoughts of failure. Don’t compare yourself with others. Do the best YOU can, and the Lord will provide the rest.” -President Dieter F. Uchtdorf
Showing posts with label Crafts. Show all posts
Sunday, June 3, 2012
Monday, May 21, 2012
Art Week
Last week we decided to celebrate art in all its forms (or at least as many forms as we could cover in four days!) I only had the budget to work with what I had in my own home, but if you have a little extra cash to spare and want to try this out yourself, I would suggest getting your children out to museums, art shows, concerts, and dance recitals. But alas, here is a little of what we managed to do:
Monday: Dancing
Monday: Dancing
On Monday I set up the Wii and me and the girls played Just Dance for an hour! It was exhausting, hilarious, and tons of fun!
Tuesday: Music
On Tuesday I busted out the ukulele and maracas and me and the girls went to town playing and singing songs. I love the picture of Lily on the left shakin' it like nobody's business! So funny!
Wednesday: Painting
On Wednesday I brought out the paints and let the girls brush and stamp to their little hearts' content.
Most of the paint ended up on Lily's hands and face but she had a blast putting it there! Brooklyn was much more meticulous then her younger sister and made sure to carefully wipe up every misplaced smudge. Its so funny how very different they are. :)
Thursday: Sculpting
On Thursday we practiced our sculpting skills. Brooklyn started recreating Stonehenge while Lily stacked the clay blocks. Eventually I had to sculpt her a little kitty to get her to understand the concept, and before I knew it, both girls had little clay kitties and had turned "sculpting time" into make believe time.
Friday: Mom's Day
On Friday I decided to finish off our upstairs bathroom. When me moved in, it was not only filthy, but it had a very "special" hunting shower curtain that the previous renters left behind as well as a remarkably yellow tub/toilet/sink combo.
Anyway, when I first moved in my only goals were to get rid of the nasty curtain and find a way to hide the mustard color. I tried a lot of different contrasting and complementary colors but nothing looked right. So finally I decided to celebrate the yellow with more bright colors. I found the shower curtain, rug, hand towel, and towels at Target and purchased them (with the help of my awesome mother-in-law). Then I found some old frames hiding in our storage, painted them, and then created some art in Photoshop to round the whole thing out. The entire bathroom makeover cost me a total of $20 dollars out of pocket and I think it turned out pretty cute!
Monday, March 12, 2012
A little something I did over the weekend...
Since we moved into our new rental home last month, Kevin and I have been trying to find ways to spruce up the place without upsetting the landlord or breaking our budget! Here are a few little things we did over the weekend to make our office look a little less rented...
We found this chair in the crawl space under our house. It was pretty ugly but Kevin sanded it down and spray painted it white while I upholstered the top using THIS tutorial from Craftaholics Anonymous. Total cost: $10 (for spray paint and fabric, we had everything else!)
We also fixed up this old shelf that our downstairs neighbor (from our first apartment in Chicago) gave us. It was warm outside so I took it to the driveway and gave it a good sanding before using the same spray paint we used on the chair to give it some life. After the paint dried, I rubbed some sandpaper over the edges to give it an aged look. Then Kevin screwed little hooks into the bottom for me and voila!
We FINALLY have a place to hang all the running medals we've accumulated over the years! Best part, it only cost $2 for the hooks! We had everything else on hand.
What "trash to treasure" projects have you been working on lately? I would love to hear about them!
We found this chair in the crawl space under our house. It was pretty ugly but Kevin sanded it down and spray painted it white while I upholstered the top using THIS tutorial from Craftaholics Anonymous. Total cost: $10 (for spray paint and fabric, we had everything else!)
We also fixed up this old shelf that our downstairs neighbor (from our first apartment in Chicago) gave us. It was warm outside so I took it to the driveway and gave it a good sanding before using the same spray paint we used on the chair to give it some life. After the paint dried, I rubbed some sandpaper over the edges to give it an aged look. Then Kevin screwed little hooks into the bottom for me and voila!
We FINALLY have a place to hang all the running medals we've accumulated over the years! Best part, it only cost $2 for the hooks! We had everything else on hand.
What "trash to treasure" projects have you been working on lately? I would love to hear about them!
Tuesday, January 3, 2012
Outdoor Adventures: Wood Carving by Erin Uda
Wood carving, or whittling, is a long-standing tradition for campers and outdoorsmen. It’s also a good exercise in fine motor skills and patience. There are many mediums that can be carved – wood or branches, soap, soft clay or plaster of paris, and vegetables (typically gourds such as pumpkins). And it’s a great project for a long weekend out of school, since it can take plenty of time to finish your project.
There is no specific tool you must use when carving. Some of
the best tools for young beginners are play-doh shaping tools, especially if
you’re carving soft clay or soap. If
your child is old enough, try letting him use a butter knife, cuticle pusher,
or the blunt tools from this year’s pumpkin carving kit. And if you get really into carving, you can
purchase a set of pottery sculpting tools (found in most art or craft
stores). If your child is eight or
older, or you feel comfortable with the idea, try letting him use a Swiss Army
knife on a scrap of wood. A finger guard
can prevent accidental injuries.
I would suggest starting with the following items:
- Paper and pencil, to create a blueprint and outline
- A bar of soap, any color
- Plastic silverware or play-doh utensils
- A cookie sheet lined with aluminum foil or wax paper, to catch the shavings
If you carved pumpkins for Halloween, then you know the
basic techniques you’ll need. For any
beginners, here are a few tips:
Start with a drawing or pattern of what you hope to create.
Use a pencil to trace a faint outline on your medium.
Shave away chunks of material until you have the general
shape.
Slowly and carefully carve the fine details of your design
If you need some designs or inspiration, try carving your child’s
name in block lettering. Or carve a
simple, stylized animal.
Once your children get the hang of it, try making Christmas
ornaments using small pieces of wood or branches. You can create simple shapes like circles and
triangles, or get fancy and make snowflakes, icicles, and other objects.
If it’s not too cold, the porch or a picnic table can be
perfect work spaces. Be sure to wear
good gloves, to keep your fingers warm.
And have fun!!
If you like, share your creations with the rest of us by
posting your pics.
Happy carving!
Recommended Reading:
- Soap Carving: For Children of All Ages, Howard K. Suzuki
- Carving for Kids: An Introduction to Woodcarving, Robin Edward Trudel
- A Beginners Guide to Whittling, Bruce Totman
You can find more books on wood carving at your local
library. Check out call number 745.592.
P.S. You can check the calendar tab at the top of the page to see other activities we will be doing throughout the week!
Friday, October 21, 2011
Halloween Sneak Peek...
For Halloween this year, Brooklyn put in a special request to be dressed up as a "Pink Cowgirl" with a pink horse. And because the only thing I love about Halloween (besides gorging myself with sweet-chocolatey-goodness) is watching my kids dress up and party... I caved!
So, I jumped onto dandee-designs.com and pulled up the HOBBY HORSE TUTORIAL and got to work! An old fuzzy sock, plunger, some felt, safety eyes, twine, and a little yarn later, we had this guy all ready to ride!
I know its not the most beautiful horse around, but it is pink, and it does match Brooklyn's pink boots. (And in my line of work, that counts for something!)
Now I just need to find her a pink cowgirl hat and we should be good to go. Oh yeah! and in case you were wondering... she will be accompanied on her trick-or-treating adventures by her little sister dressed as a baby cow, her daddy dressed as a cowboy, and her mom dressed as a mommy cow... Sexy... I know ;)
So, I jumped onto dandee-designs.com and pulled up the HOBBY HORSE TUTORIAL and got to work! An old fuzzy sock, plunger, some felt, safety eyes, twine, and a little yarn later, we had this guy all ready to ride!
I know its not the most beautiful horse around, but it is pink, and it does match Brooklyn's pink boots. (And in my line of work, that counts for something!)
Now I just need to find her a pink cowgirl hat and we should be good to go. Oh yeah! and in case you were wondering... she will be accompanied on her trick-or-treating adventures by her little sister dressed as a baby cow, her daddy dressed as a cowboy, and her mom dressed as a mommy cow... Sexy... I know ;)
Wednesday, October 5, 2011
Designer Knife Block
So the other day I saw THIS on Pinterest and it got me thinking...
In my kitchen, the refrigerator is black and silver, the microwave and stove are black and silver, and our toaster, utensil holder, magic bullet, juicer, KitchenAid, and spice rack are all black and silver. So why not paint my knife block BLACK and SILVER!
Here is what my dirty knife block looked like sitting on my dirty cutting board (because I'm awesome like that) BEFORE I painted it. (If you're wondering where all the knives are, they are dirty...and consequently, in the dishwasher.)
As soon as Lily went down for her nap, Brooklyn and I got to work sanding the block. (There was a lot of old dried up food we had to scrape off before painting...gross I know, but it happens!)
When we were done sanding, we wiped the block down and then took it outside to spray paint it black. The spray paint didn't cost me anything because we had some laying around from one of Kevin's past projects. I love it when that happens :)
Once the spray paint was dry, we brought the block back inside, put on the movie A Wrinkle in Time, grabbed some grapes for snacking, and started painting leaves on the block using $1.99 stencils that we bought at Joann's, a stippling brush, and silver paint that also cost $1.99.
When the leaves were finally dry, we finished off the block with a coat of Mod Podge for shine and protection. You can also use Polyurethane, but Mod Podge is easier, smells better, and at my house, its always readily available!
Anyway, this is what we ended up with AFTER all our hard work, and I LOVE it! In fact, when Kevin saw it he liked it so much that he suggested we buy some new shiny knives to put in it... YAY! But whether that happens or not, my old knives look a whole lot better sitting in my designer knife block and I had a blast doing this project with my sweet little Brooklyn!
In my kitchen, the refrigerator is black and silver, the microwave and stove are black and silver, and our toaster, utensil holder, magic bullet, juicer, KitchenAid, and spice rack are all black and silver. So why not paint my knife block BLACK and SILVER!
Here is what my dirty knife block looked like sitting on my dirty cutting board (because I'm awesome like that) BEFORE I painted it. (If you're wondering where all the knives are, they are dirty...and consequently, in the dishwasher.)
As soon as Lily went down for her nap, Brooklyn and I got to work sanding the block. (There was a lot of old dried up food we had to scrape off before painting...gross I know, but it happens!)
When we were done sanding, we wiped the block down and then took it outside to spray paint it black. The spray paint didn't cost me anything because we had some laying around from one of Kevin's past projects. I love it when that happens :)
Once the spray paint was dry, we brought the block back inside, put on the movie A Wrinkle in Time, grabbed some grapes for snacking, and started painting leaves on the block using $1.99 stencils that we bought at Joann's, a stippling brush, and silver paint that also cost $1.99.
When the leaves were finally dry, we finished off the block with a coat of Mod Podge for shine and protection. You can also use Polyurethane, but Mod Podge is easier, smells better, and at my house, its always readily available!
Anyway, this is what we ended up with AFTER all our hard work, and I LOVE it! In fact, when Kevin saw it he liked it so much that he suggested we buy some new shiny knives to put in it... YAY! But whether that happens or not, my old knives look a whole lot better sitting in my designer knife block and I had a blast doing this project with my sweet little Brooklyn!
Wednesday, September 14, 2011
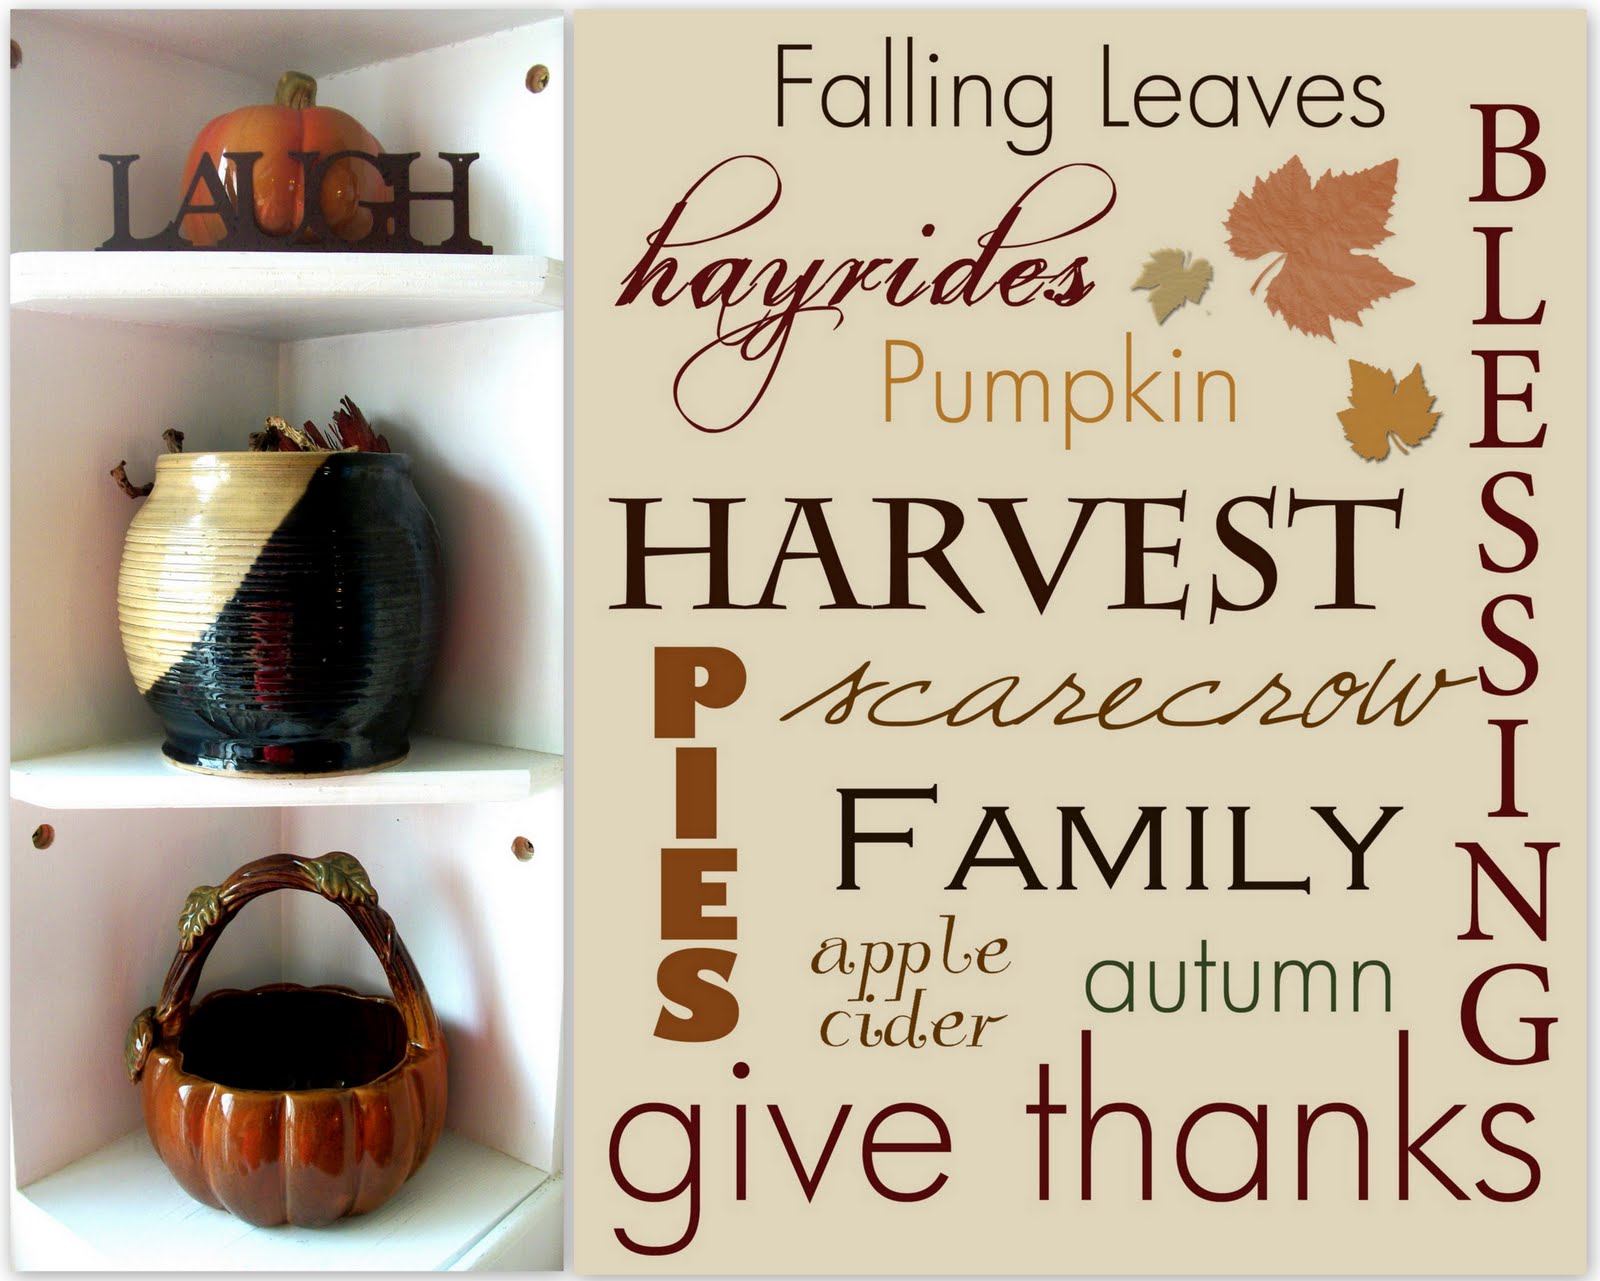
Fall is in the Air!!!
![]() | |||||
| (Subway art can be found HERE at Blooming Homestead) |
In fact, I even went the extra mile and whipped up a little wall art just for the heck of it. The frames were from the Dollar Store (years ago) and have been used for all my random holiday pages. I just switched out the old for the new. The leaves were from last fall. I simply removed them from the pages of A Mid Summer Night's Dream and glued them to some paper. The rest was just cutting, ripping, pasting and layering different pieces of scrapbook paper to each other. I finished them off with a little button and some raffia and I think they turned out pretty cute.
Another fun thing I got to do yesterday was this fabric heart craft. I decided to join my husband at our church building last night while he was helping some young men practice their skit, and was invited by my friends Jacquie and Missy to participate in the craft they were doing with a group of young women. I know my painting skills leave something to be desired, but it was still fun, easy, and has an easy to reuse concept. All we did was paint an 8"x 8" board, nail horseshoe nails into it in the shape of a heart, paint the word "love" in the middle, and then tie a 1"x 5" strip of fabric to each nail.
Anyway, I just thought I would share these super cheap and easy ideas in case any of you want to bring a little Fall into your homes :) Happy crafting!
Wednesday, August 24, 2011
Wings to Fly!
A while back I was cruising around on Pinterest when I spotted THESE wings. I pinned them in hopes that one day I would have the motivation to make them for my cute little girls. Well, that day came sooner than I thought!
For the last month or so Brooklyn has been BEGGING me for wings that could fly. I told her I couldn't make her something that she could fly with, but I COULD make her something she could flap with. She seemed to think that was a pretty good idea, so I dragged up THIS TUTORIAL and started to sew!
Cutting was the hardest part, but after that it was a breeze. Also, I used some leftover fabric from our ward luau so it didn't cost me a thing!
Once they were all finished, we tied them on and took them outside for a test flight! And let me tell you, the sore neck and shoulders I earned at my sewing machine today were completely healed by the sight of my 3 year old running through the field, flapping her wings, laughing out loud, and smiling with joy!
One of the things Brooklyn was most pleased by was the fact that her wings didn't hinder any of her motions. She was even able to play a little basketball with Lily in them!
Anyway, I still have to make some for Lily, but it was a fun project and TOTALLY worth the smile on my daughter's face!
Tuesday, August 9, 2011
Outdoor Adventures: Fairy Houses by Erin Uda
Building fairy houses is a long-held tradition in many parts of Scotland, England, and New England. Legend says that fairies once lived all around us, but as people stopped believing, the fairies have retreated into their secret realm, coming out only when invited. Fairies are said to be nature-loving creatures, full of positive energy and love. Building a fairy house shows the fairies they’re welcome around you, and many say they’ve heard the faint sounds of laughing fairies once their houses are complete. Invite the spirit of nature and imagination into your home; build a fairy house today.
It’s easier to gather the right materials if you take a moment to decide what kind of house you want to create. Sit down with your child(ren) and create a blueprint of what you want your house to look like.
Your house should reflect your personality: What do you want to tell the fairies about yourself? What shape should the house be? A box, cone, or cottage?
Talk about what kind of house you think your fairies will want. Do they like flowers, trees, water, or other items? Should you put plants and green things on your house? Should you build it all from wood to look like a tree? Should you build it from grasses, sticks and flowers so it feels light and colorful?
Be an artist, an architect and an interior designer. Think about what the fairies will need to live out in the woods. Talk about how the fairies don’t have any technology, but they live by using what they find around them.
Fairies love natural beauty. Look around to see what you can find in nature to build and decorate your creation. Gather flowers, sticks, leaves, seeds, nuts, bark, feathers, shells, pine cones, rocks, and anything else you can find. You could even brush your dog and use the hair to make a blanket or carpet! Remember to only use natural materials.
While you’re gathering, talk about good places to find each item. Smell the flowers and talk about the colors and designs, discuss what kind of nuts you found and what trees they come from.
You can also talk about what each item brings to your creation. What ‘energy’ does a piece of bark, a stone, or sand hold? Talk about water fairies, forest fairies, flower fairies, and other elements.
Remember to gather lots of flowers to decorate your fairy house and for the projects listed below, and look for easy to bend twigs, like willows or other soft wood to make the furniture.
Making a fairy house can be as simple as putting a small, fairy-like door at the base of a tree or as complicated as creating an entire mini-mansion, complete with furniture. The beauty is, you get to choose!
Once the frame of the house is built, make the inside inviting. Put up natural wallpaper, create furniture out of sticks and other items. Decorate with flowers, feathers, shells, or fur. Try using flower petals or sea glass to create fairy stained glass windows. Use twigs to create furniture for your house (beds, chairs, tables). Use leaves and flowers to make a blanket, or find some soft materials like corn silk or dog hair. If desired, decorate your house with fairy figurines to encourage visits, or leave something shiny to catch their attention.
Watch for fairies as you work. Ask questions: Do you see fairies out of the corner of your eye when the wind blows? What do the fairies think of your creation? What will they do in your new house?
You can work together with your child(ren) to create one large house, or you can each make your own. Don’t be afraid to make more than one, and if you have time, create a fairy garden around your fairy house or village.
Experiment with different materials and watch the magic of your imagination come out along with the fairies. Be sure to come back often to see if anyone has visited your fairy house.
After the house is nestled away, help your child(ren) write a story, poem or song about how they felt while they were making it, or what they hope will happen in their fairy house.
If they’ve invited friends over to help them build, host a fairy tea party! Ask the girls to come over in fairy outfits (ballet items come in handy), make your own fairy wings and paint your faces with some glitter make-up. Then sit at a table and eat finger sandwiches, drink pink kool-aid and tell stories about fairies.
If you’re looking for an item to send home with the girls, press some of the flowers you collected and turn them into bookmarks or other fun crafts. Or, you can try your hand at THESE fun handmade fairies!
Recommended Book List:
- The Complete Book of the Flower Fairies, Cicely Mary Barker
- How to Find Flower Fairies, Cicely Mary Barker
- Flower Fairies Paper Dolls, Cicely Mary Barker
- Fairyopolis: A Flower Fairies Journal, Cicely Mary Barker
- Magical Secret Garden, Amanda Li
- Lavender’s Midsumer Mix-Up, Kay Woodward
- Fairy Houses… Everywhere!, Tracy Kane and Barry Kane
- Fairy Houses of the Maine Coast, Maureen Heffernan
- Celia and the Fairies, Karen McQuestion
- In the Realm of the Never Fairies: Secret World of Pixie Hollow, Monique Peterson
- The Fairy Bible: The Definitive Guide to the World of Fairies, Teresa Moorey
Wednesday, August 3, 2011
Monster Madness!
When I was out in Utah with my family, my little sister Sarah and I decided to give these little crochet monsters that I found on THIS website a try. Ours didn't turn out as well, but they still turned out really cute and weren't that hard to make. We couldn't find any safety eyes where we went shopping, so we just used felt and a hot glue gun. The eyes won't last as long with little kids around, but they will work for now!So what would a person do with such silly little monsters? We started out by doing some monster attacks with our kids and all their cousins. Basically all we did was had a snow ball fight with stuffed monsters. The kids thought it was pretty fun but I eventually had to call it quits when they all started to gang up on me... Who knew little kids could retaliate so well?! :)
My mom's dog also loved the little guys. He thought they were his new fetch toys! Not a bad idea, but I would make sure all your parts were sewed on super good to avoid choking (for kids or dogs!)
I also thought you could use the monsters for a fun little bean bag toss game, or you could reuse an old milk carton like I saw HERE to play a fun game of catch.
Whatever you decide to do with them, they are super easy to make and the kids really seem to like them. So good luck and happy crafting!
Tuesday, June 28, 2011
Outdoor Adventures: Backyard Camping by Erin Uda
Today we’re setting up camp – city style!
Put up a tent in your backyard (or garage/living room if the weather doesn’t cooperate). Pack it full of blankets, pillows, flashlights and camp snacks. Set up a picnic or craft table nearby, and make a ‘campfire’ out of colored cellophane and toilet paper rolls. Put a flashlight or small electric lantern in the middle to simulate real fire. If you want a more realistic effect, place a small fan at the bottom to make the cellophane move and crackle.
(click here to find image source and tutorial on: Ape 2 Zebra)
You could keep things simple by reading and playing in your tent for as long as you choose to leave it up, but here are some fun activities to try:
- Inflate an air mattress or pool float and put it on the grass. Have your children lie on it and pretend to be Tom Sawyer and Huck Finn. What do they see as they float down the river? What kind of adventures do they have? This can be altered to fit any storyline.
- Put two ‘rafts’ next to each other and give each raft a supply of water balloons. Tell the children they’re pirates and see who can take over the enemy ship. If you don’t want to use water balloons, blow up some beach balls and use them as cannons for a unique version of dodgeball.
- Pool noodle wars are always fun. Use the noodle as a sword and see who wins the battle.
- Go on a trail ride using stick horses. Take turns being the lead rider.
- Learn some camp craft together – my favorite is the plastic lanyard key chain, but there are a ton of kits out there. Check out Oriental Trading Company or Tandy Leather for ideas. Try making dream catchers, friendship bracelets, bookmarks, wallets, and more. One of my favorite sites is DuckBrand.com, which shows you how to make amazing things like roses and wallets with Duck Tape.
- Go fishing! Use a toddler/wading pool and fill it with water. Place some fish (made out of duck tape, with a magnet in the center) in the pool. Hang a piece of string from a stick and put another magnet at the end of the string. Let the kids see how many fish they can catch. Another option is to give them all a specific color to catch, and use a few different colors of duck tape for your fish.
It’s always a good idea to learn camp skills. Try working on a few of the following while you’re outside:
- Learn how to tie some basic knots. The square knot and slip knots are the easiest, but knots like the half-hitch and the sheep-shank are relatively easy to learn and very useful. Grab some rope or cord from the garage, or use shoelaces as a last resort. Once they’ve learned a few, hold a knot relay race, or create some fun situations where they can use their new knot-tying skills.
- Go on another nature walk and collect a bunch of flowers, leaves and other items. Set up a station at the picnic table where the children can create rubbings, pressed flowers, or collages. If you don’t have much nature nearby, grab some Popsicle sticks and glue them together to make fun camp items like a jewelry box or a bird cage. Or just pick some grass and try to make whistles.
- Make a flag for your camp out of some fabric and markers or paint. If you don’t have material handy, use a plain-colored pillowcase. Once you’re finished, tie it to a tall stick and fix it in the ground near your tent. You may need to use a pot or a few large stones to make sure it stays upright.
Camp isn’t camp without the food, and who doesn’t want a night without dishes? Try a few of the following ideas when it’s time to feed your campers:
- Tin foil dinners are easy and can be done in your oven. Check out THIS LINK for a few starter tips, then have dinner outside around the campfire together. Don’t be afraid to experiment with different ingredients; it’s like a single-serving casserole!
- Grill hotdogs on your ‘fire,’ by putting some pre-cooked dogs on skewers and having your children hold them over the fire until they cool.Then doctor them up with your favorite condiments.

- Trail mix is a great snack; make it even more fun by telling the children they have to eat it while hiking around the yard. I recently tried some trail mix cookies and they were incredible!We used peanut butter cookies as the base and added in ¼ cup each oats, raisins and mini chocolate chips, plus ½ cup of regular size M&Ms.
- My favorite camp treats are s’mores. Naomi posted an incredible recipe for BAKED S'MORES earlier, but if you want a few more unique takes on this treat, check out THIS LINK.
Once you’ve eaten, you may be tempted to go inside, but there are so many things about camp that are unique to the dark. Try a few of these ideas before you hit the sleeping bag:
- Play flashlight tag. Same rules as regular tag, only you ‘tag’ someone by turning on your flashlight and hitting them with the beam. Note: only play this in a safe area, since you’ll be running around in the dark.
- Tell ghost stories to each other. You can do this sitting around the fire or cuddled up in the tent. Either way, you should have something fun to do afterward or your little ones may not be able to sleep.
- Take some time to look at the night sky. Being in the city, the stars won’t be nearly as bright as they are in the woods, but you can still find the big dipper, the north star, and a few of the more famous constellations.
- Watch a movie projected on the wall. If you don’t have a projector, hang a blanket on a clothes line and use a bright flashlight or lantern to make a shadow puppet show.
- Sing songs around the campfire. There are a ton of songs to choose from, but THIS SITE has all the ones I remember from my years at camp, plus tons more!
- If you’re worried about losing your little one in the dark, try putting a light stick around his neck. He’ll love the ‘light saber’ and you’ll love knowing exactly where he is. If you’re looking for a light-related craft, try combining a button cell battery, and an LED diode (one wire on each side; there is a right and wrong side) and taping them together with electric tape. Add a magnet if you want to attach it to something. It will work for hours.
Suggested Reading:
- Cam Jansen and the summer camp mysteries, David A. Adler (Call #: J Adler; ISBN: 9780142407424)
- The Berenstain Bears Go to Camp, Stan and Jan Berenstain (Call #: P Berenstein; ISBN: 0394851315)
- Curious George Goes Camping, Margaret and H.A. Rey (Call #: P Rey; ISBN: 9780395978351)
- S is for S’mores, A Camping Alphabet, Helen Foster James (Call #: P James; ISBN: 9781585363025)
- The Morrow Guide to Knots (Call #: 623; ISBN: 9780688012267)
- The Art of Hand Shadows, Albert Almoznino (Call # 791.5; ISBN: 9780486418766)
- Duck Tents, Lynne Berry (Call #: P Berry; ISBN: 9780805086966)
Wednesday, June 1, 2011
Repurposed PJ's
Today I just felt like whipping out something quick to get me motivated for the rest of the day. So, I took this old pair of Capri PJ bottoms and...

Anyway, the project turned out cute and totally managed to motivate me too. Plus the girls feel like they got spoiled. So if you're bored and on a limited budget, you might want to give this project a try. Good luck!
Cut off the legs...

Rolled the cut edges down...

Sewed the cut edge all the way around leaving about an inch...

Threaded a 1 inch wide piece of elastic all the way through...

Then I sewed the elastic ends together and VOILA!

Two matching skirts for my little kid-lets!

The skirts are comfortable, breathable, and easy to maneuver in!

Easy to dress up!

Or down!

They can even be used as cute little swimsuit covers!
Rolled the cut edges down...
Sewed the cut edge all the way around leaving about an inch...

Threaded a 1 inch wide piece of elastic all the way through...

Then I sewed the elastic ends together and VOILA!
Two matching skirts for my little kid-lets!
The skirts are comfortable, breathable, and easy to maneuver in!
Easy to dress up!
Or down!
They can even be used as cute little swimsuit covers!
Anyway, the project turned out cute and totally managed to motivate me too. Plus the girls feel like they got spoiled. So if you're bored and on a limited budget, you might want to give this project a try. Good luck!
Subscribe to:
Posts (Atom)